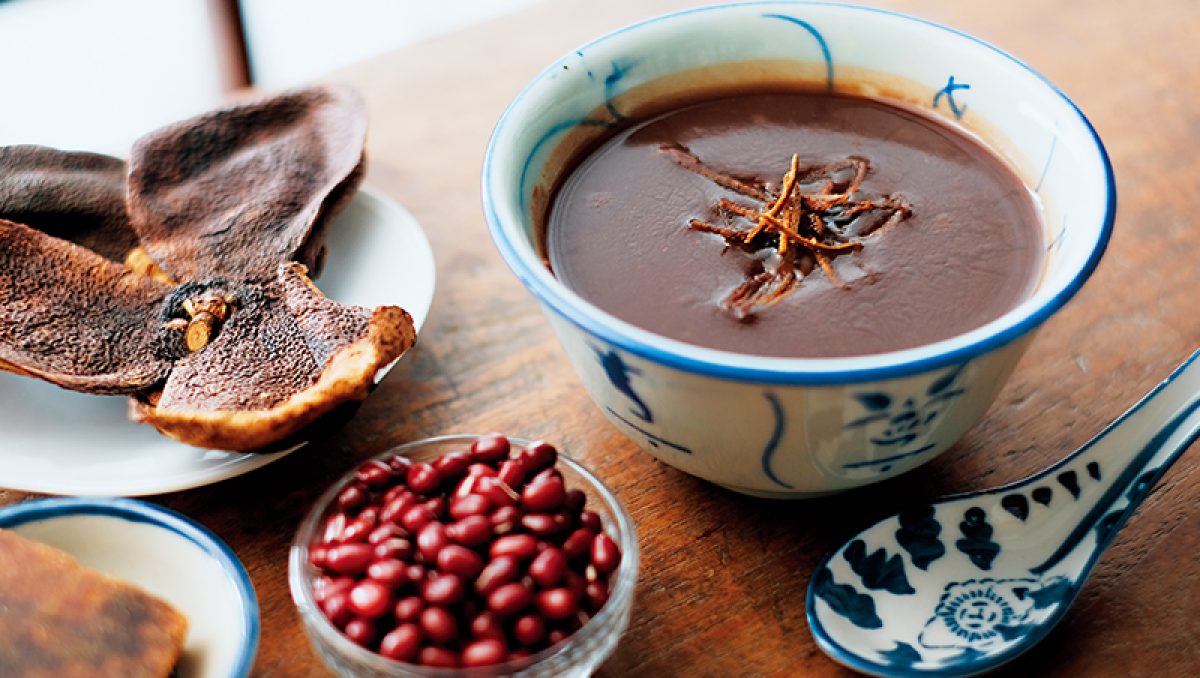
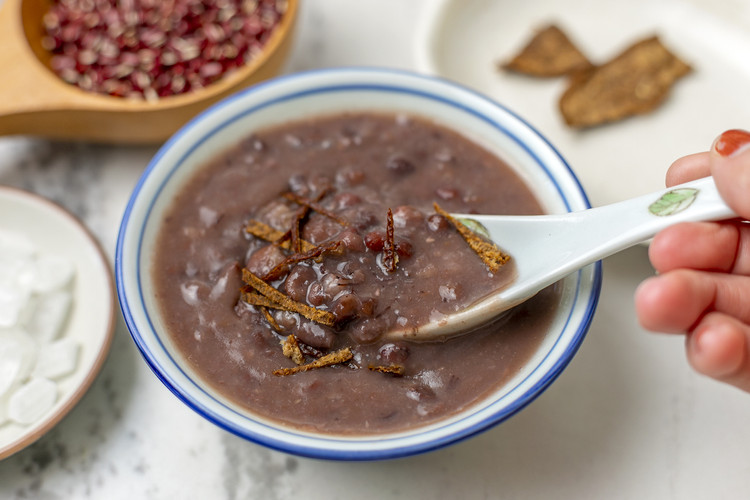
Tangerine Red bean dessert
Level :
简单
Total time :
1 Hour 40 Minutes
Prep time :
50 Minutes
Cooking time :
50 Minutes
Recent Recipes

Homemade Chicken Sticky Rice
2025年3月20日
Sea Cucumber Cordyceps Flower Soup
2024年9月27日

Ginseng Root Black Chicken Soup
2024年9月27日
Healthy and Tasty